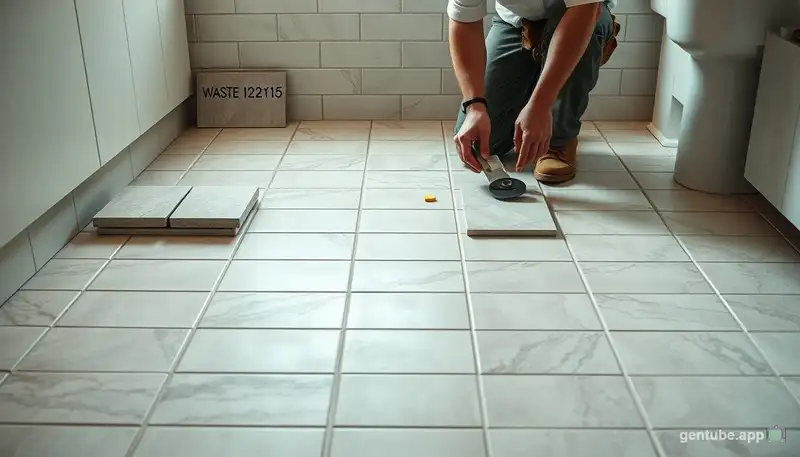
About Tile Calculator
A tile calculator is an essential tool for any home improvement project involving tile installation. Whether you are tiling a bathroom floor, a kitchen backsplash, a shower wall, or even a roof, this calculator helps you determine exactly how many tiles you need, how many boxes to purchase, and what the total cost will be. Ordering the correct amount of tiles is important to avoid extra trips to the store or color mismatches between different production batches. Our tile calculator accounts for the area size, tile dimensions, gap spacing, box sizes, and pricing to give you a complete project estimate.
The calculator supports two input modes: you can either enter the length and width of the area to be tiled, or enter the total area directly if you already know it. It also supports multiple unit systems including inches, feet, meters, centimeters, and yards, making it useful for projects worldwide. The gap size feature accounts for the space between tiles that is typically filled with grout, and the overlap feature handles roofing and siding applications where tiles overlap rather than gap. For other home improvement calculations, the square footage calculator can help you measure rooms and surfaces before planning your tile project.
Using a tile calculator before starting your project saves time, money, and frustration. It eliminates guesswork and ensures you purchase the right quantity of materials the first time. The calculator also helps you compare different tile sizes and pricing options to find the most cost-effective solution for your project. Whether you are a DIY homeowner tackling a weekend renovation or a professional contractor managing multiple installations, this tool provides the accurate estimates you need to plan and budget effectively.
How the Tile Calculator Works
The tile calculator works by first converting all measurements to a consistent unit, then calculating the area of one tile including the gap or overlap on each side. It divides the total area to be covered by the area of one tile to determine the number of tiles needed. The formula accounts for both the tile dimensions and the spacing between tiles, ensuring accurate results whether you are using tight grout lines or wide gaps. The calculator then rounds up to the nearest whole tile since you cannot purchase partial tiles.
If you provide the number of tiles per box, the calculator also determines how many full boxes you need and whether you will have leftover tiles. This is particularly useful for large projects where knowing the exact box count helps with logistics and budget planning. When you enter a price per tile, per box, or per square unit, the calculator provides a complete cost estimate for the tile material. This helps you compare different tile options and make informed decisions based on both aesthetics and budget.
The calculator handles both positive gap values for standard grouted installations and negative values for overlapping installations like roofing tiles or wood siding. This versatility makes it suitable for a wide range of tiling applications beyond just floor and wall tiles. The results show the total number of tiles needed, the number of boxes required, the total area covered, and the estimated material cost. For complex layouts, remember that patterns like herringbone or diagonal installations may require additional tiles beyond the calculator's estimate, and you can use the percentage calculator to determine the exact waste factor for your specific layout pattern.
Understanding Gap Size and Grout
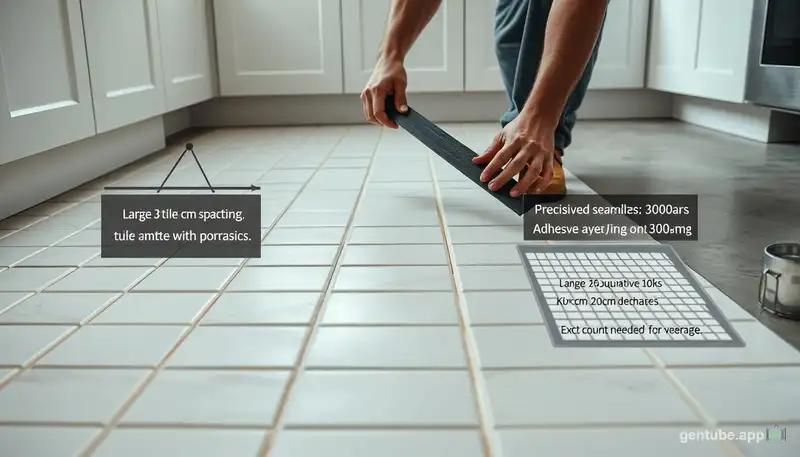
Floor and wall tiles are typically installed with gaps between them because tiles are often not perfectly uniform in shape and size, and would not fit properly if installed without any gaps. These gaps are most commonly filled with grout, a form of concrete that hardens to create a solid, waterproof surface. The gap between tiles can range from one-sixteenth of an inch to half an inch in size, depending on the tile type, the desired aesthetic, and the application. The tile calculator accounts for these gaps by adding the gap distance to each tile dimension before calculating the total number needed.
The size of the grout line significantly affects the overall look of the installation. Smaller grout lines of one-sixteenth to one-eighth inch create a seamless, modern appearance that is popular with large-format tiles and rectified edges. Medium grout lines of one-eighth to three-sixteenths inch are standard for most ceramic and porcelain tile installations. Larger grout lines of one-quarter inch or more are typically used with quarry tiles, stone tiles, or outdoor applications where a more rustic look is desired and where wider joints help accommodate movement and drainage.
In some cases, such as with roofing tile or wood siding, rather than having a gap between them, tiles overlap to prevent water leakage. The roofing calculator helps with larger roofing material estimates, and the tile calculator can account for both situations. Enter a positive value if there is a gap between the tiles being used, or a negative value if the tiles overlap. For example, entering negative two inches means each tile overlaps the adjacent tile by two inches. This overlapping method is common for exterior applications where weatherproofing is essential and the overlapping layers create a barrier against rain and moisture.
Tile Sizes and Dimensions
Tile size can range anywhere from small mosaic tiles that are three-eighths of an inch to large-format slab tiles measuring 24 by 48 inches and everything in between. Square tiles with equal width and length are the most popular, accessible, and easiest to install. Common square sizes include 4x4, 6x6, 12x12, 16x16, and 18x18 inches. Rectangular tiles like 12x24 and 6x24 inches have become increasingly popular for modern designs, offering a contemporary look that can make spaces appear larger and more open. The tile calculator accepts any dimensions you enter, allowing you to plan with any tile size available on the market.
Choosing the right tile size for your space is an important design decision. Large tiles can make smaller rooms appear bigger and more open because there are fewer grout lines to break up the visual space. They also require less grout and are faster to install. However, large tiles may not be suitable for rooms with complex layouts, lots of corners, or curved walls where smaller tiles offer more flexibility. Small tiles and mosaics are ideal for showers, backsplashes, and accent areas where their intricate patterns and textures add visual interest and can conform to curved surfaces more easily.
Thickness is another important dimension to consider, especially for floor applications. Floor tiles are typically thicker than wall tiles because they need to withstand foot traffic, furniture weight, and impact. Standard floor tiles range from three-eighths to half an inch thick, while wall tiles are typically one-quarter to three-eighths of an inch thick. The tile calculator focuses on surface area dimensions, but it is important to verify thickness requirements with your tile supplier to ensure the tiles are appropriate for your specific application and will work with your chosen substrate and installation method.
Tile Materials and Their Uses
There are several main classifications of tiles, each with distinct characteristics, advantages, and ideal applications. Ceramic tiles are the most common and cost-effective option, made from clay that is fired at high temperatures and finished with a glaze. They come in countless colors, patterns, and finishes, making them suitable for virtually any interior application. Porcelain tiles are a subtype of ceramic made from finer clay fired at even higher temperatures, resulting in a denser, harder, and less porous material. Porcelain is ideal for high-traffic areas, bathrooms, and outdoor spaces because of its superior water resistance and durability.
Glass tiles offer unique visual qualities with their translucent, luminous appearance that reflects light beautifully. While not appropriate for flooring because they can crack under pressure, glass tiles are excellent for kitchen backsplashes, bathroom accents, and decorative features. They are non-porous, easy to clean, and resistant to stains and moisture. Quarry tiles have rough, textured surfaces that provide excellent grip, making them ideal for floors that require slip resistance. They are commonly used outdoors, in restaurant kitchens, and in commercial entryways where durability and safety are paramount. Quarry tiles are typically unglazed and have a natural earthy appearance.
Stone tiles including marble, granite, travertine, slate, and limestone provide unique natural patterns, textures, and colors that cannot be replicated by manufactured tiles. Each piece of natural stone is unique, creating one-of-a-kind installations with timeless appeal. Marble offers elegant veining patterns suitable for luxury bathrooms and entryways, while granite provides exceptional hardness and durability for kitchen floors and countertops. Slate offers a rustic, textured surface ideal for outdoor patios and walkways. Natural stone requires more maintenance than ceramic or porcelain because it is porous and needs regular sealing to prevent staining and moisture damage.
Tile Layout Patterns
The layout pattern you choose for your tile installation significantly affects both the visual result and the amount of tile material needed. The most common and simplest pattern is the straight or linear grid, where square or rectangular tiles are aligned in rows and columns. This pattern is the most material-efficient because it produces the least waste from cuts. Straight layouts work well with any tile shape and are the easiest for DIY installation. The tile calculator provides accurate estimates for straight layouts, and you should add 10 percent for waste to account for necessary cuts at walls and edges.
Running bond or brick layouts involve offsetting each row by half the tile length, similar to how bricks are laid in a wall. This pattern is popular for rectangular tiles and subway tiles, creating a classic, timeless look. Running bond layouts generally require about 10 to 15 percent more material than straight layouts because of the additional cuts needed at the ends of offset rows. The visual effect of the offset rows adds depth and movement to the installation, making it a favorite for backsplashes, shower walls, and feature walls in both traditional and contemporary designs.
Herringbone and diagonal patterns involve aligning tiles at 45 or 90 degree angles to create dynamic zigzag or diamond patterns. These are among the most visually striking layouts but also the most material-intensive, requiring 15 to 20 percent extra material due to the high number of angled cuts. Herringbone patterns work particularly well with rectangular tiles and are often used in entryways, bathrooms, and as accent features. Diagonal square layouts create a diamond effect that can make small rooms feel larger by drawing the eye across the space. When planning complex patterns, always order extra material and consider professional installation for the best results.
Tile Installation Tips
Proper surface preparation is the most critical step in any tile installation. The substrate must be clean, level, dry, and structurally sound before any tile is laid. For floor installations, use a self-leveling compound if needed to create a perfectly flat surface. Walls should be checked for flatness and any high spots should be ground down or low spots filled. Applying the correct primer and using the right type of thin-set mortar for your specific tile and substrate ensures proper adhesion. Skipping these preparation steps is the most common cause of tile failures including cracked tiles, loose tiles, and uneven surfaces.
Using the right tools makes tile installation much easier and produces professional-looking results. A wet saw with a diamond blade is essential for making clean, accurate cuts, especially for larger tiles or intricate patterns. Tile spacers ensure consistent grout lines throughout the installation, and a level helps verify that tiles are flat and even. A notched trowel creates the correct mortar ridges for proper coverage, and a rubber grout float helps press grout into the joints without scratching the tile surface. Having the right tools and keeping them clean during the installation process saves time and improves the quality of the finished project.
Planning your layout before starting installation is crucial for achieving a balanced, professional appearance. Start by finding the center point of the area and dry-laying tiles along both axes to determine the layout and identify any problematic cuts at walls or obstacles. Avoid installing narrow cut tiles at the edges of the room, as they look unprofessional and may be unstable. Adjust the starting point slightly if necessary to ensure that cuts at opposite walls are of similar width. Using the tile calculator to determine your material quantities before you start ensures you have enough tiles on hand and helps you plan the layout efficiently.
Measuring for Tile Installation
Accurate measurements are the foundation of a successful tile project. Start by measuring the length and width of each wall or floor section that will be tiled. For rectangular rooms, multiply the length by the width to calculate the area. For L-shaped or irregular rooms, divide the space into smaller rectangles, calculate each area separately, and add them together. The tile calculator accepts both the dimensions approach and the total area approach, giving you flexibility in how you enter your measurements. Always measure twice to verify your numbers and avoid costly ordering mistakes.
When measuring, remember to subtract areas that will not be tiled, such as door openings, vanities, cabinets, and built-in fixtures. For walls, measure the full height and width, then subtract the area of windows, doors, and any other openings. It is helpful to draw a simple sketch of the space with all measurements noted, including the locations of obstacles and features. This sketch serves as a valuable reference during both the material ordering and installation phases. The more accurate your measurements, the more precise the tile calculator results will be, reducing waste and ensuring you have enough material.
Always measure the actual space rather than relying on architectural plans or memory, as actual dimensions can differ from plans by several inches. Account for irregular walls by measuring at multiple points and using the longest measurement to ensure your tiles cover the entire area. If you are tiling around pipes, outlets, or other fixtures, measure their exact positions so you can plan for cutouts. The area calculator can help you compute the square footage of complex spaces before entering the measurements into the tile calculator for precise material estimation.
Cost Estimating with Tile Calculator
The tile calculator includes a cost estimation feature that helps you budget for your project accurately. You can enter the price of the tile based on different units: per individual tile, per box, per square foot, per square inch, per square yard, per square meter, or per square centimeter. The calculator automatically computes the total material cost based on the number of tiles needed and your selected pricing method. This flexibility allows you to work with whatever pricing information is available from your tile supplier, whether they sell by the piece, by the box, or by area coverage.
Understanding the true cost of a tiling project goes beyond just the tile material. You should also budget for additional materials including thin-set mortar, grout, backer board, sealant, and edge trims or transition strips. Tools such as tile cutters, trowels, spacers, levels, and grout floats may need to be purchased or rented if you do not already own them. For larger or complex installations, professional labor costs can be a significant portion of the budget. Using the tile calculator to determine the exact tile quantity helps you get accurate quotes from suppliers and contractors, ensuring there are no surprises in your final project cost.
Comparing different tile options using the cost estimator helps you make informed decisions. A more expensive tile per square foot may actually be more cost-effective if it is larger and requires less labor to install, or if it is more durable and will last longer. The calculator's ability to show total project cost for different tile choices allows you to weigh aesthetics, durability, and budget in one place. Remember to always include the waste factor in your cost calculations, and consider ordering an extra box or two beyond the calculated amount to ensure you have matching tiles for future repairs or replacements.
Accounting for Waste and Cuts
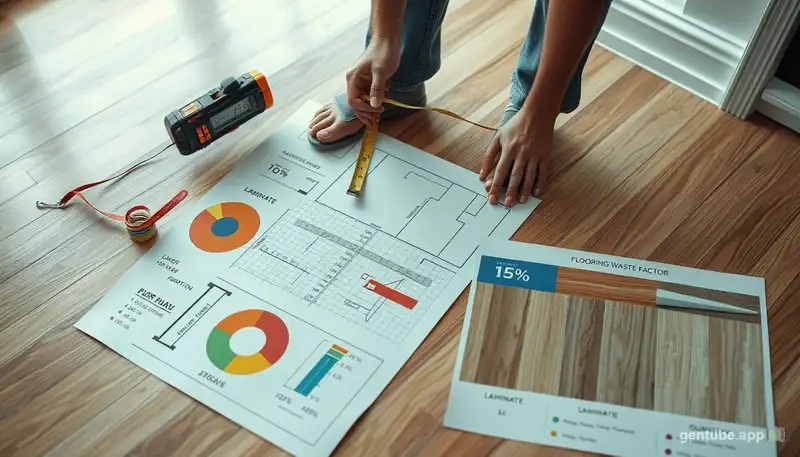
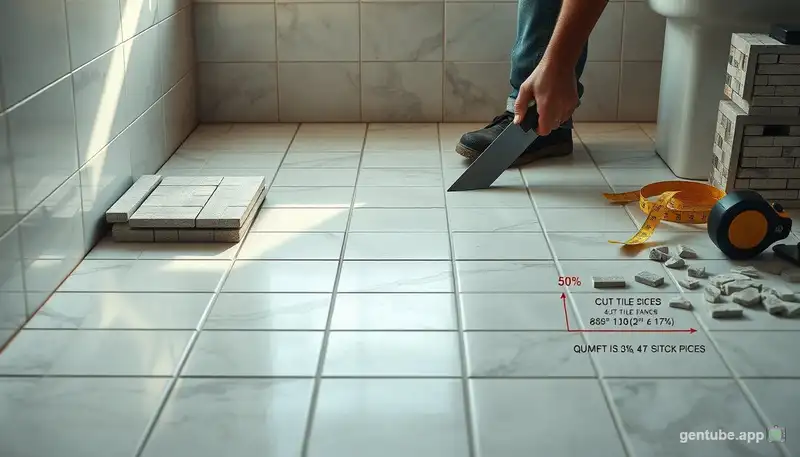
Accounting for waste is one of the most important aspects of tile quantity estimation. No matter how carefully you plan, some tiles will need to be cut to fit around corners, edges, pipes, and other obstacles, and some tiles may break during cutting or installation. The industry standard recommendation is to order 10 to 15 percent more tiles than the calculated minimum. For straight layouts with minimal obstacles, 10 percent waste is usually sufficient. For diagonal layouts, herringbone patterns, or rooms with many corners and obstacles, 15 to 20 percent waste is more appropriate to ensure you have enough material.
The tile calculator provides the exact number of tiles needed based on the dimensions you enter, but you should manually add the waste factor when placing your order. For example, if the calculator determines you need 100 tiles, ordering 110 tiles gives you 10 percent waste allowance. This extra material accounts for tiles that need to be cut to fit at walls, tiles that may break during installation, and future repairs. Having extra tiles from the same production batch is invaluable if a tile gets damaged months or years after installation, as matching tile colors and patterns from different production runs can be extremely difficult.
Proper planning minimizes waste and saves money. By carefully measuring the space and planning the tile layout before cutting, you can reduce the number of tiles that end up as scrap. Grouping cuts and using partial tiles from one side of the room to fill small spaces on the opposite side reduces overall waste. For large projects, consider ordering full boxes plus a few individual tiles rather than rounding up to an extra full box if the calculator shows you need just a few more tiles than a whole number of boxes. However, always err on the side of ordering slightly more rather than slightly less, as running out of tiles mid-project can delay completion and result in color mismatches.
Tile Maintenance and Care
Proper maintenance extends the life of your tile installation and keeps it looking beautiful for years. The most important maintenance task is regular cleaning using the appropriate methods for your tile type. Ceramic and porcelain tiles can be cleaned with a mild pH-neutral cleaner and warm water. Avoid using harsh chemicals, abrasive cleaners, or vinegar on tile surfaces as they can damage the glaze or grout over time. For natural stone tiles, use cleaners specifically formulated for stone to avoid etching or discoloration. Grout lines should be cleaned with a soft brush and grout-specific cleaner to prevent mold and mildew growth.
Sealing is an important maintenance step for certain tile types. Natural stone tiles and unglazed quarry tiles are porous and require periodic sealing to prevent stains and moisture damage. Grout should also be sealed after installation and resealed annually to maintain its water resistance and prevent discoloration. The frequency of sealing depends on the tile location and exposure to moisture. Bathroom floors and shower walls may need sealing more frequently than dry interior areas. Always test a small inconspicuous area before applying sealer to ensure it does not alter the tile's appearance, and follow the manufacturer's recommendations for the specific sealer product.
Prompt attention to damaged tiles prevents problems from spreading. If a tile cracks or chips, replace it as soon as possible to prevent moisture from penetrating the substrate and causing more extensive damage. Keep a few extra tiles from your original installation stored in a dry location for future repairs. If grout cracks or crumbles, remove the damaged grout and regrout the area before water damage occurs. Regrouting is a relatively simple DIY task that can dramatically improve the appearance of aging tile work. The flooring calculator can help you plan larger renovation projects that involve replacing or updating tile flooring in multiple rooms.
Benefits of Using a Tile Calculator
A tile calculator provides numerous benefits for DIY homeowners, contractors, and designers. The primary advantage is accuracy: the calculator uses precise mathematical formulas to determine the exact number of tiles needed based on your measurements. This eliminates the guesswork and mental math that often leads to ordering too few or too many tiles. Ordering too few tiles means project delays and potential color mismatches from different production batches. Ordering too many tiles wastes money that could be spent on other materials. The calculator ensures you order the right quantity every time.
The time savings offered by a tile calculator are significant. Instead of manually calculating areas, converting between measurement units, accounting for gaps, and figuring out box quantities, you simply enter your measurements and get instant results. The cost estimation feature saves even more time by automatically calculating material costs based on your pricing inputs. This is especially valuable for contractors who need to prepare multiple quotes for different clients. The calculator also makes it easy to compare different tile sizes and pricing options to find the most cost-effective solution without spending hours redoing calculations for each option.
Using a tile calculator helps reduce waste and supports sustainable building practices. By ordering the exact quantity of tiles needed plus a reasonable waste factor, you minimize the number of tiles that end up in landfills. The square footage calculator helps you accurately measure the area before you start, and the calculator also helps you plan more efficient layouts that produce fewer offcuts and less waste during installation. For environmentally conscious homeowners and builders, reducing material waste is an important part of sustainable renovation practices. Whether you are tiling a small bathroom floor or a large commercial space, this tool helps you complete your project efficiently, accurately, and with minimal environmental impact.
To learn more about tile calculator, visit Energy.gov.
Frequently Asked Questions
How many tiles do I need for my room?
Measure your room's length and width, multiply to get the area in square units. Divide by the area of one tile including the gap, then add 10-15% for waste and cuts. The tile calculator does all this automatically.
How much extra tile should I order?
It's recommended to order 10-15% extra tiles to account for cutting, waste, and future repairs. For diagonal patterns or complex layouts, order 15-20% extra. The tile calculator helps you determine the base quantity, and you add the waste factor when ordering.
How do I calculate tiles needed for a room?
Measure the length and width of the room, multiply to get square footage. Subtract areas that won't be tiled like vanities or cabinets. Add 10-15% for waste and divide by the area of one tile. The tile calculator handles all these steps.
What is the standard tile size?
Common sizes include 12x12 inches for floors, 12x24 inches, 16x16 inches, 18x18 inches, and 6x6 or 4x4 inches for walls and backsplashes. Large tiles can make smaller rooms appear bigger by reducing grout lines.
How many tiles are in a box?
Tile boxes typically contain 10-15 tiles depending on size. A box of 12x12 inch tiles covers about 10-15 square feet. Check the box label for exact coverage information before ordering.
What size grout line should I use?
Standard grout lines are 1/16 to 1/4 inch depending on tile size and type. Use 1/16 inch for rectified tiles, 1/8 inch for standard glazed tiles, and 1/4 inch for quarry tiles. Larger tiles typically need larger grout lines.
Can I use tile overlap instead of gaps?
Yes, for roofing and some wall applications, tiles overlap like shingles. Enter a negative gap value in the tile calculator to calculate overlap. For example, -2 means each tile overlaps 2 inches of the tile below it.
What is the best tile material for floors?
Ceramic and porcelain tiles are the most popular for floors because they are durable, water-resistant, and cost-effective. Porcelain is denser and more suitable for high-traffic areas and outdoor use.
How do I measure for tile installation?
Measure the length and width of each wall or floor section. Multiply length by width to get area. Add all areas together for the total, then multiply by 1.1 to 1.15 to account for waste. Use the tile calculator for accurate results.
What is the difference between ceramic and porcelain tile?
Porcelain is a type of ceramic made with finer clay and fired at higher temperatures, making it denser, harder, and less porous. Porcelain is better for outdoor use and high-moisture areas like bathrooms because of its superior water resistance.
Is this tile calculator free?
Yes, this tile calculator is completely free to use with no registration or usage limits. Calculate tile quantities, box counts, and costs as many times as needed for personal or professional projects.
What units does the tile calculator support?
The tile calculator supports inches, feet, meters, centimeters, and yards for dimensions. Area results can be shown in square feet, square meters, square yards, square inches, and square centimeters.